Ever want to run Android apps on your PC?
This tutorial will walk you through how to setup Android on a Virtual Machine on your computer using RemixOS (a polished spinoff of
android-x86) and VirtualBox.
Step 1: You need to go download:
Step 2: Install VirtualBox and Create a New Virtual Machine
Step 3: Give the VM at least 2GB of RAM
Step 4: Create the Virtual Disk, Defaults are fine
Step 5: Boot the VM and, when prompted, mount the GParted Linux Live CD
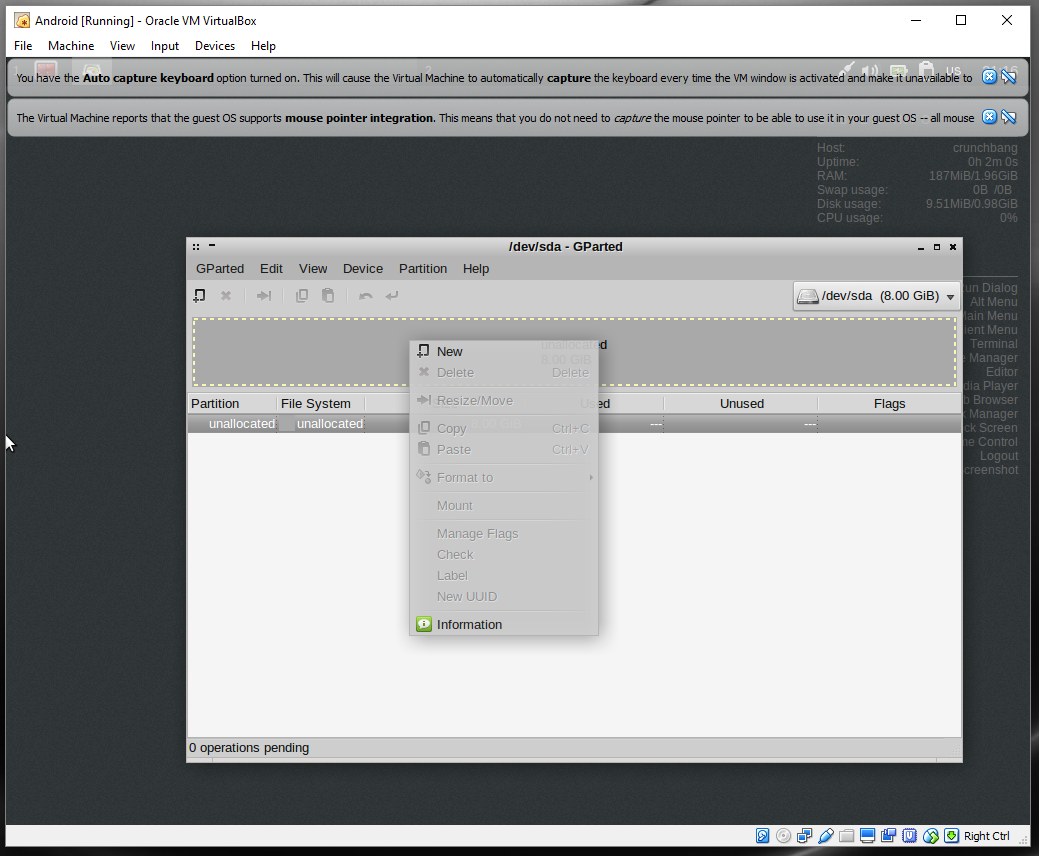
Step 6: Once you're in the Linux environment, launch GParted by typing "sudo gparted" into the Terminal
Step 7: Click Device > Create Partition Table...
Step 8: Right click the Unallocated Partition and click New
Step 9: Set the File System type to ext4 and Label to Android
Step 10: Click Edit, Apply All Operations
When it is done you can Reboot and mount the RemixOS iso under Devices > Optical Drives
Step 11: As soon as you see the RemixOS boot loader, press Tab
At the end of the boot script add "INSTALL=1" and press Enter
Step 12: Select the ext4 partition you created, sda1
Step 13: Do not format
Step 14: Yes, install boot loader GRUB
Step 15: Yes, enable read-write
RemixOS will install, power off when it is finished
Step 16: Click Settings in VirtualBox > System
Change Pointing Device to PS/2 Mouse
Step 17: First boot will take forever, just give it time
Step 18: Follow the on-screen prompts, if it hangs up just Reboot
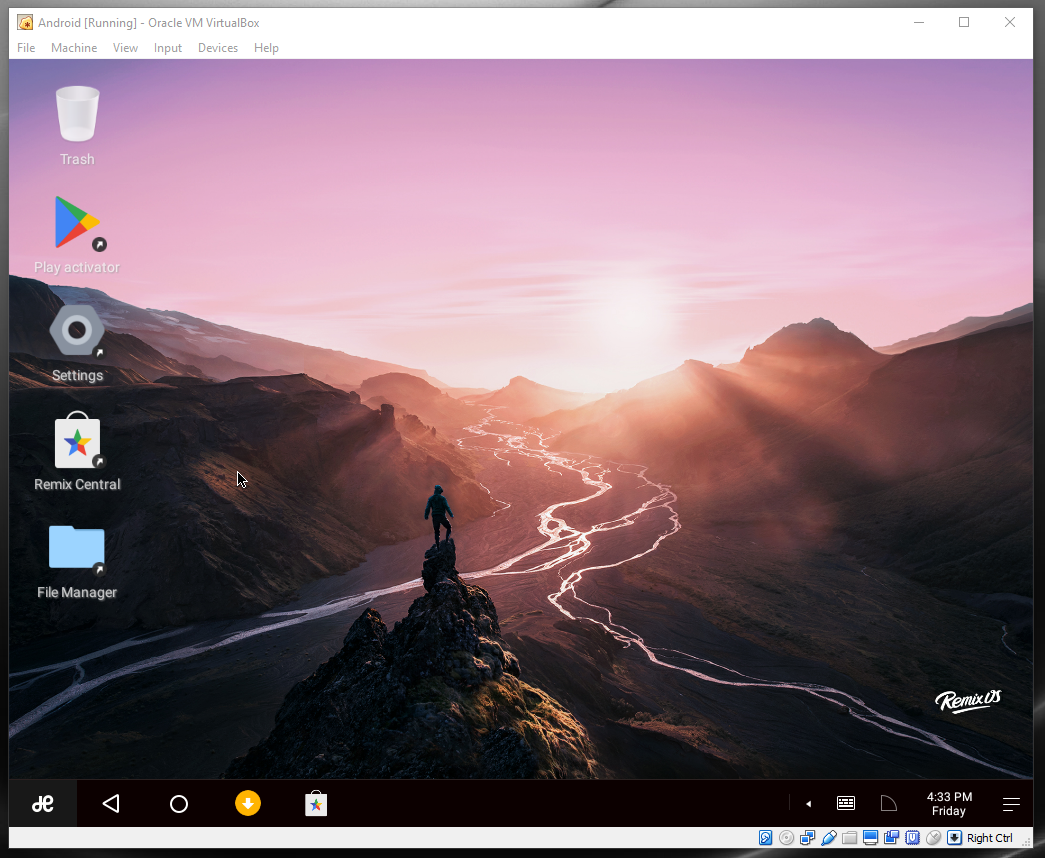
Eventually you will get to the RemixOS desktop!
Step 19: Congrats! You are up and running. Launch the Play Store and start installing some Android apps!